VirtualBox is a free and open source, cross-platform, software for creating, running and managing virtual machines on your system. VirtualBox was originally created by Innotek GmbH and released in 2007. The company was later purchased by Sun Microsystems. Oracle VM VirtualBox lets you create one or more VMs on a single physical server. Virtual Machines are computers that use the hardware components of the host computer, each running its own operating system. VB supports the installation of MS Windows, Linux, BDS, and MS-DOS on the installed VMs.
In this article, we will explain how you can install VirtualBox on your Ubuntu system through the UI and the command line.
We have run the commands and procedures mentioned in this article on an Ubuntu 18.04 LTS system.
Installing VirtualBox Through Ubuntu Software Manager
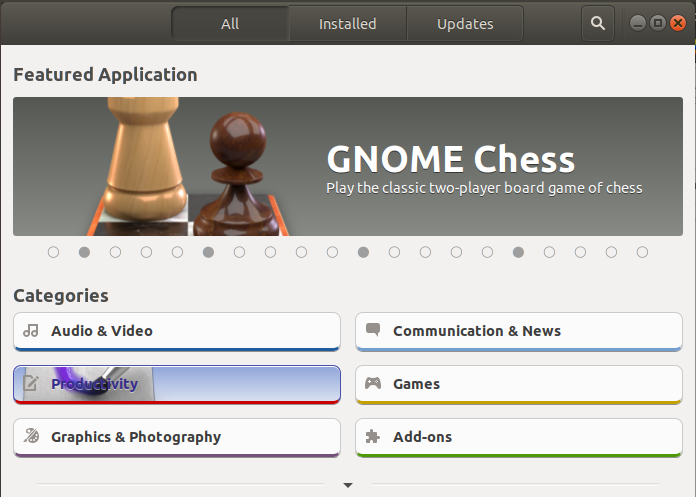
For a person who does not want to open the Command Line much, installing a software present in the Ubuntu repository through the UI is very simple. On your Ubuntu desktop Activities toolbar, click the Ubuntu Software icon.
The Ubuntu Software manager will open in the following view:
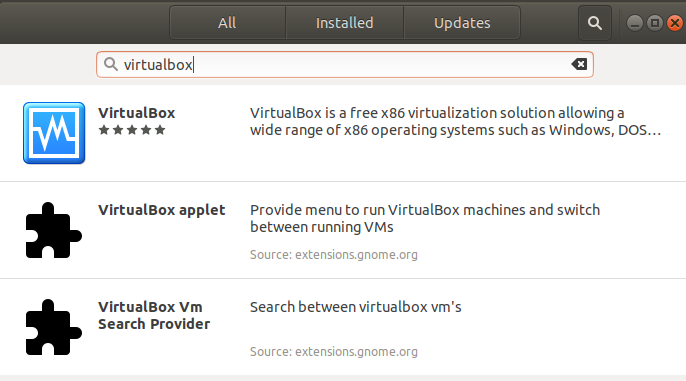
Please click the search icon and enter VirtualBox in the search bar. The search results will list the VirtualBox entry as follows:
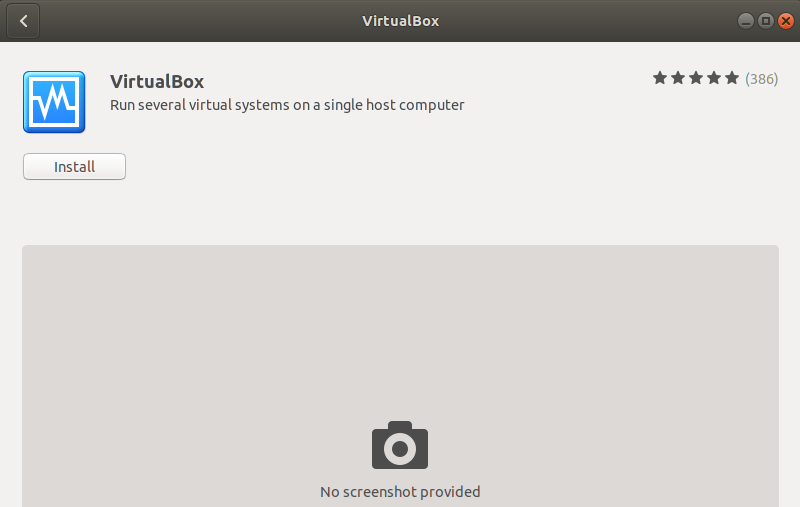
Click the VirtualBox entry from the search results. The following dialog will appear:
Then, click the Install button to begin the installation process. The following authentication dialog will display for you to provide the authentication details for a sudo user as only an authorized user can install a software on Ubuntu.
Advertisements
Enter your password and click the Authenticate button. After that, the installation process will begin, displaying a progress bar as follows.
VirtualBox will then be installed to your system and you will get the following message after a successful installation:
Through the above dialog, you can choose to directly launch VirtualBox and even Remove is immediately for whatever reason.
You can launch VirtualBox any time you want by entering ‘VirtualBox’ in Ubuntu Dash or access it from the Applications list.
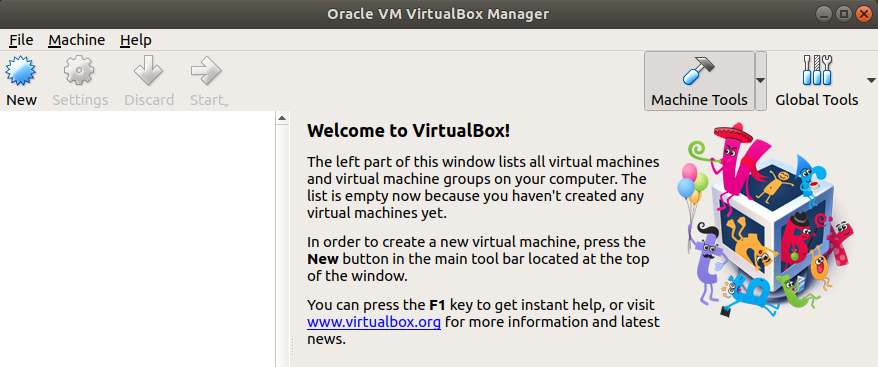
VirtualBox will open in the following view; you can create and manage virtual machines through this tool:
Uninstall
You can uninstall VirtualBox through the Ubuntu Software manager by first searching for it through the Search button and then clicking the Remove button from the following view:
A dialog will ask you if you are sure about removing the software from your system. Please enter the Remove button to uninstall VirtualBox. An authentication dialog will display for you to provide the authentication details for a sudo user as only an authorized user can install a software on Ubuntu. Enter your password and click the Authenticate button. After that, the uninstall process will begin, removing VirtualBox from your system.
Installing VirtualBox Through the Command line
A Terminal-savvy person can choose to install VirtualBox through the command line as follows:
In order to install the latest VirtualBox, you need to have the Multiverse repository enabled on your system. By default this repository is disabled. Open your Ubuntu Terminal either through system Dash or the Ctrl+Alt+D shortcut. Then enter the following command as root in order to enable the repository and also update your system’s repository index with that on the internet:
You may be asked to provide the password for root after which the repository will be enabled on your system.
Now, enter the following command to install VirtualBox:
$ sudo apt install virtualbox
The system will prompt you with a Y/n option in order to begin the installation procedure. Please enter Y and hit Enter to begin. VirtualBox will then be installed on your system.
You can launch VirtualBox directly through the Terminal by entering the following command:
$ virtualbox
Exit the Terminal by entering the exit command:
$ exit
Uninstall
In order to uninstall VirtualBox from your system without removing any configurations you might have made, enter the following command as sudo:
$ sudo apt remove virtualbox
The system will prompt you with a Y/n option in order to begin the uninstall procedure. Please enter Y and hit Enter to begin. VirtualBox will then be removed from your system.
If you have made any configurations, such as installed an extension package, you can remove VirtualBox and all those by using the following command:
$ sudo apt purge virtualbox
Install the Extension Package
You may also wish to install some additional features for your VirtualBox. An extension package can be installed and then configured in your VirtualBox for this purpose.
Enter the following command as sudo in order to install the Extension Package:
$ sudo apt install virtualbox-ext-pack
The following configuration message will appear, presenting the VirtualBox terms of the license:
Enter Ok and then select Yes from the following view if you agree to the terms:
No re-open the VirtualBox either through the command line or the UI.
Select Preferences from the File menu and then select the Extensions option from the left panel of the following Preferences view:
You will see the Oracle VM VirtualBox Extension enabled on your VirtualBox. You can add and remove extension packages through this view by clicking the add and remove buttons.
If you want to uninstall the extension package through the command line, please enter the following command:
$ sudo apt ins virtualbox-ext-pack
The system will prompt you with a Y/n option in order to begin the uninstall procedure. Please enter Y and hit Enter to begin. VirtualBox extension package will then be removed from your system.
By following the steps described in this article, you can learn to install and uninstall the latest version of VirtualBox on your Ubuntu system, both through the graphical user interface and the command line. You can also add further extension packages and use them with your VirtualBox installation with the help of this article.