It often is observed that some websites don’t perform optimally on some Broadband Connections . When nothing else works, It can be fixed by adjusting your MTU . Please see the below steps to change MTU
Lets see HOW TO CHANGE MTU IN WINDOWS 10
Open a command prompt as administrator. You can do this by Hitting Windows start button, type CMD, right click on command prompt and run as administrator
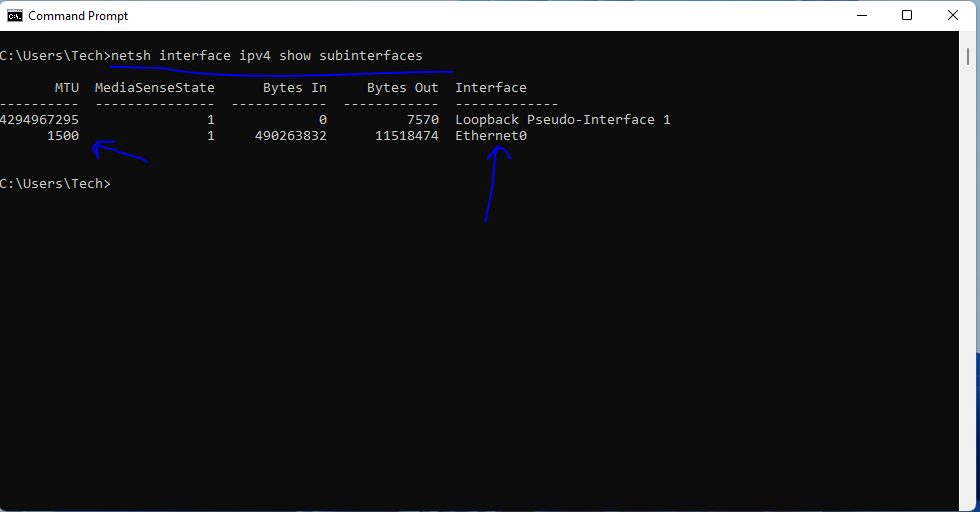
type the command netsh interface ipv4 show subinterfaces
The Output will show as below listing your Interfaces and MTU Size currently.
Command output before any modification
Note Down the interface name as we will need it in next command to change the MTU size , Ethernet0 in above Example.
In the next command substitute Ethernet0 with your interface name and new MTU size of 1518.
netsh interface ipv4 set subinterface “Ethernet0” mtu=1518 store=persistent
Output after Command to change MTU Runs
That’s it, As you can see in image above, we can now see the MTU has changed.
You can either Increase or Decrease your MTU to see what works in your case.
This command works on Windows 10 and Windows 11 Both.
What is MTU
For those who are more Curious , maximum transmission unit (MTU) is a measurement representing the largest data packet that a network-connected device will accept. Lets put it like a height limit for freeway underpasses or tunnels: Vehicles that exceed the height limit cannot fit through, just as packets that exceed the MTU of a network cannot pass through that network.
However, unlike cars and trucks, data packets that exceed MTU are broken up into smaller pieces so that they can fit through. This process is called fragmentation. Fragmented packets are reassembled once they reach their destination.
MTU is measured in bytes — a “byte” is equal to 8 bits of information, meaning 8 ones and zeroes. 1,500 bytes is the maximum MTU size.
Let us know in comments if this article helped you or if you have additional questions